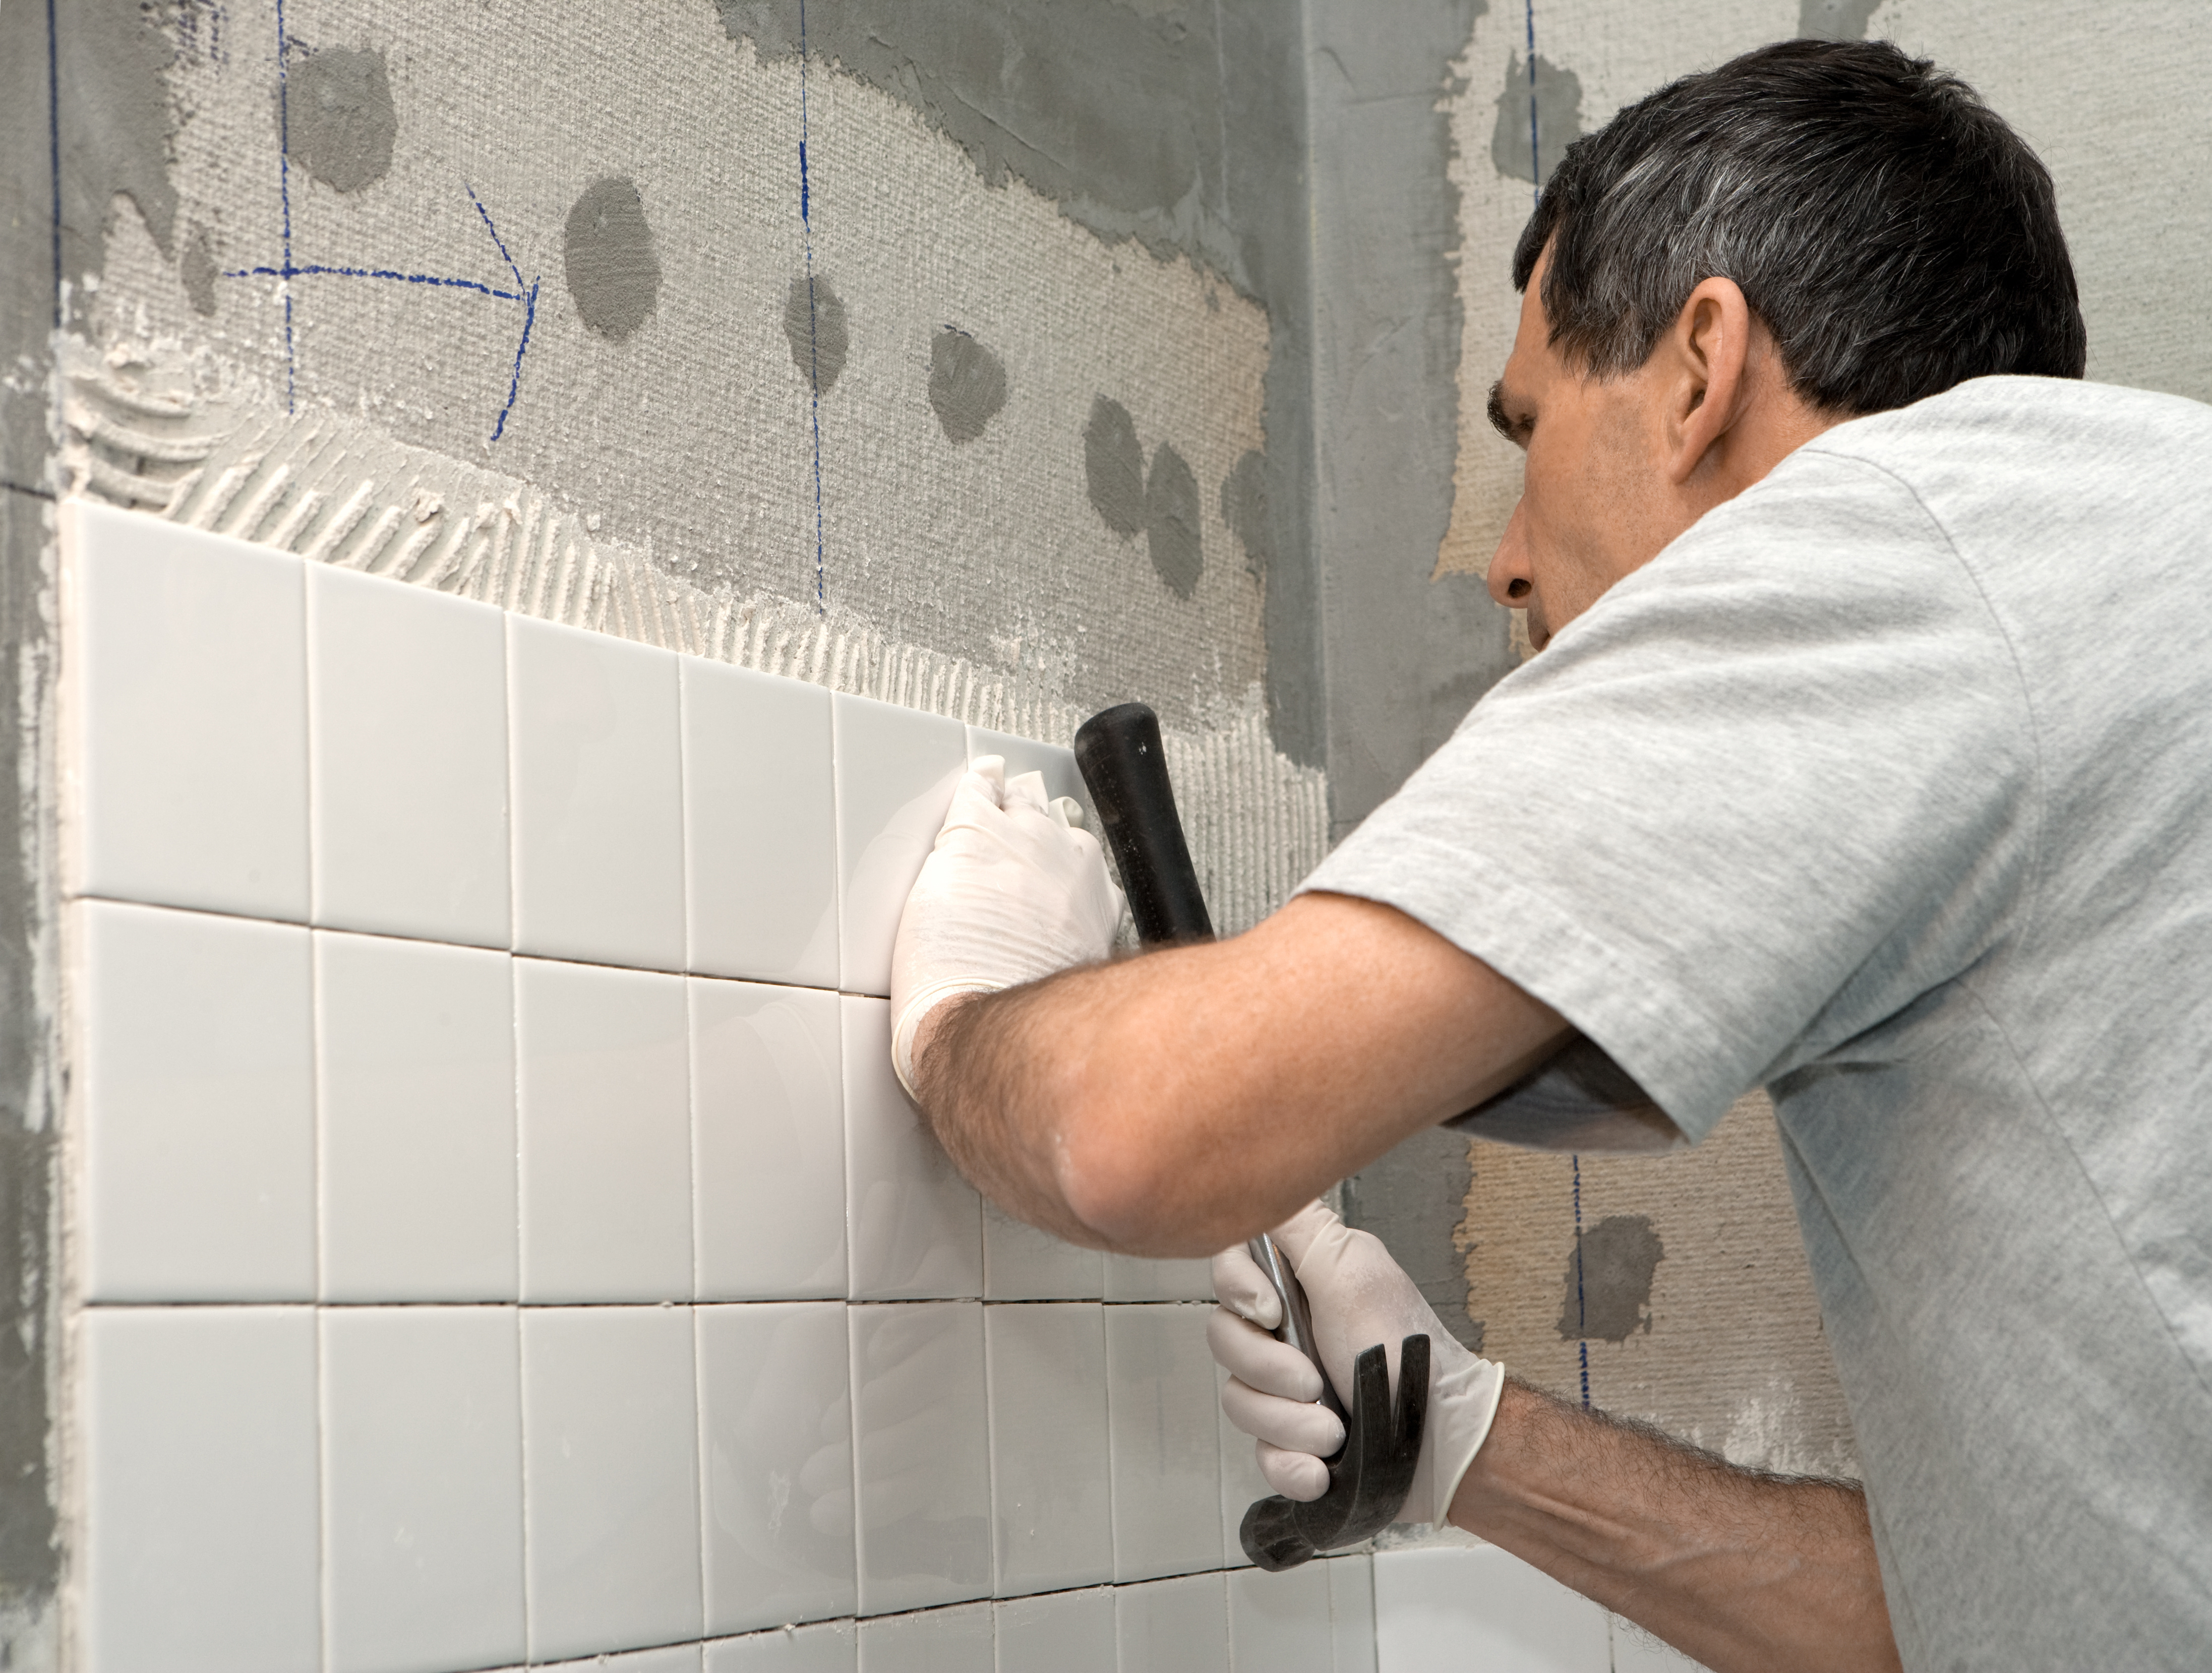
Adding new floor or wall tiles to your bathroom is an easy way to give the room an instant upgrade. Even if you don’t have the time or money to perform a full bathroom remodel, laying down new tiles can still freshen up your old, outdated bathroom. Better still, the job is one that you should be able to easily do on your own over the course of the weekend. That being said, it is essential that you are patient and pay close attention to what you’re doing to avoid making mistakes or producing less than desirable results. For this reason, we’ll now take a look at a few tips to help provide a professional appearance to your new bathroom tiles.
Make Sure Your Floor Is Fully Level
One of the very first things you’ll need to do before laying down the tiles is to ensure that the floor is completely level. Attempting to tile an uneven floor can be an absolute nightmare and makes it almost impossible to achieve a smooth, level finish. This is precisely why you should make sure to check the floor for level before getting started. If you notice any areas are more than 1/4 inch out of level, you’ll want to fill in the low spots with thin-set mortar to achieve a flat surface. If the floor is extremely out of level, it’s usually easier to use self-levelling compounds like this Arditex CL Plus+ Levelling and Smoothing Compound by Ardex.
Mix the Grout Smoothly
It is essential that the grout or thin-set is fully smooth and free of chunks before you start trying to spread it out on the floor or walls. The easiest way to ensure this is the case is to first mix the grout with water and then let it stand for approximately 10 minutes. This will help to make sure that any chunks have time to fully absorb water and thus allows you to create a smoother, more even grout mixture. You’ll want to do this with the thin-set before you spread it on the floor and then again with the grout once you’re ready for it. To ensure that you don’t mix up too much grout at one time, you might consider using a grout calculator, which should help cut down on waste.
Slow Down the Drying Process
Laying down tile can be a slow, painstaking process, so the last thing most people will want to do is lengthen the amount of time it takes. However, unless you happen to be a seasoned tile pro, it is usually best to slow down the time it takes for the thin-set and grout to dry and set up. This will give you more time to complete the job, which should help ensure you don’t have to rush and hopefully help provide better results.
One easy way to do this is to lightly soak the backer board or concrete floor with water prior to laying down the thin-set, as this will help to keep it from drying as quickly. In addition, you might also want to consider mixing the thin-set with a latex additive instead of water. There are numerous latex additives made specifically to slow down the drying time, and these can be a huge help in any DIY tile job.
Get Started with Clean-Up Immediately
Once everything is finally finished, you’ll probably want to take some time to sit back and admire your work. However, what you should really be doing is immediately getting started on the clean-up. This means soaking your tools in water to stop the grout from hardening and also making sure to clean out any excess thin-set from in between the tiles. The longer you wait, the more difficult it will be to clean—so it’s a good idea not to put it off for a minute longer than you have to.
At the end of the day, it shouldn’t be all that difficult for anyone to tile their own bathroom. Laying down tile doesn’t really take any special skill. As long as you pay attention and take your time, you can easily produce a tile job even a professional would be proud of. Nonetheless, it is still recommended that you follow these basic tips to help simplify the task and ensure everything goes smoothly from start to finish.